
Installation
Simple Products with Superior Results
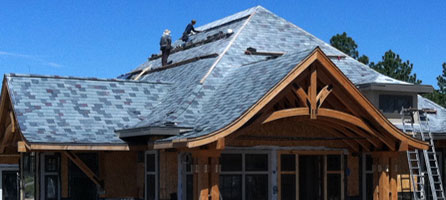
Advanced technology. Lighter weight installation. As a respected roofer or contractor, you strive to offer the highest quality building materials and methods. Prized for its distinction and craftsmanship needed to install it, genuine slate and handcrafted clay tiles are only used by the companies that take pride in offering real materials as an option to their customers.
Introduction to the Genuine Roof Systems Installation Process
This eight-part video series introduces the SlateTec® slate roof installation process from start to finish; the TileTec® process is similar. Each of the eight videos in the series can be viewed individually below by using the menu button in the top left of the video or on our YouTube channel.
SlateTec Installation Overview (TileTec Process Is Similar)
Tools (Recommended)
- Slate Cutter
- Slate Hammer
- Drill + 3/16” Masonry Bits For Slate (if needed)
- Knife Or Scissors For Interlayment
- Caulking Gun
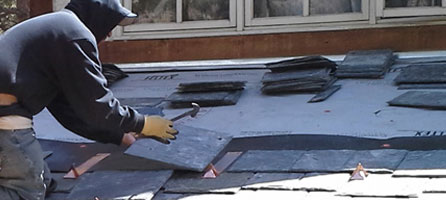
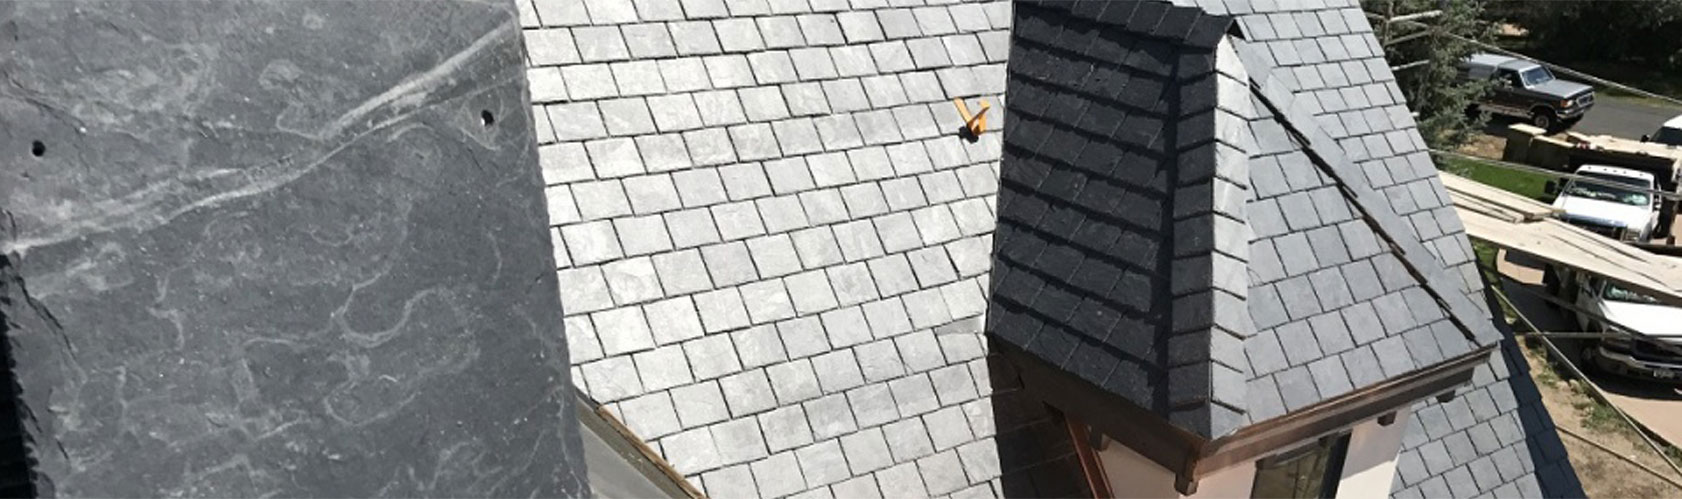
A 1/4” or 3/8” riser strip can be used on eaves for first course, install drip edge over riser and first course of interlayment over drip edge. Rake Edge: cut interlayment 3/4” from outside edge and add one nail just above slate for added wind protection. (See diagram #1) After a watertight base roof including all metal flashings, and all interlayments are complete, the roof is ready for SlateTec.
Standard slate length is 12” in random widths, with a required 4” over lap. Interlayment is 18” wide rolls. Install interlayment first over drip edge, and then install slate in successive courses with a 4” over lap, fastened with copper nails. Fourteen inch (14”) slate pieces can be used as a drop down for a staggered appearance. Hip and Ridge also requires a 4” over lap over a 12” strip of interlayment; 3 nail holes are recommended on each ridge piece.
DISCLAIMER:
It is the responsibility of the roofing contractor to abide by all local building requirements and codes. Genuine Roof Systems® makes no warranties or guaranties of any type to include the accuracy of the information in this manual. Check your geographic area for special or prevailing code requirements that may require an engineering report.

Other Basic Components (Copper Standard Metal Flashings Reccomended)
-
Eave & Rake Style – D

-
Valley (Standard)

-
Step Flashing (Standard)
Always install interlayment under each course-step flashing and seal step flashing on top of interlayment.

-
Head Wall (Standard)

-
Lead or Rigid Pipe Flashing (Painted)
Always install interlayment under slate on metals.

-
Copper Nails for All Slate
Recommended:
(1 3/4” nails for 1/4’ – 3/8” slate) (2” nails for 3/8” – 1/2” slate)
Product & Technical Literature
SlateTec and TileTec product and technical information can be found in the documentation listed below.
-

Product Brochures
-

Installation Documents
-

Download Warranty